Approximately 4 out of 10 floors you wish to apply epoxy are unevenly levelled. Nonetheless, that shouldn’t significantly influence your final results because there’s all it takes to achieve levelled epoxy flooring.
Epoxying an unleveled surface is not easy. However, adhering to these tips will give you the most even and smooth epoxy flooring, not forgetting durability. When unsure about technique, you can consult a nearby professional to eliminate mistakes.
If you have such a project coming up, this blog is essential as it unveils tips for epoxy flooring on uneven surfaces.
Tip #1: Be Professional
Generally, everything regarding epoxy flooring application requires you to be professional. Similarly, when handling uneven surfaces, you should wear your coat of knowledge and skills about the procedure.
When you’ve learned various techniques and tricks of working these surfaces, you will floor them excellently. You should seek to learn more about epoxying uneven surfaces before the actual job for more desirable results.
Tip #2: Prepare the Surface
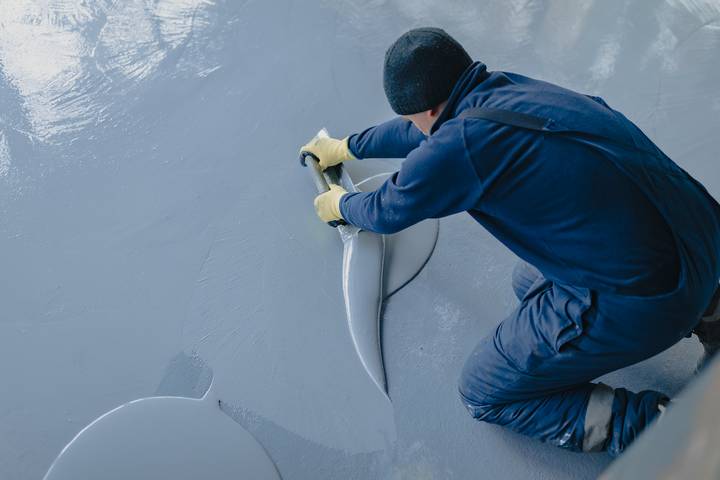
Another effective tip for applying epoxy flooring on an unleveled surface is that you shouldn’t miss the preparation. This vital step involves grinding the areas to achieve a smooth, even look. A concrete grinder is ideal for this procedure alongside related supplies. After sanding, clean the area to eliminate excess dust and debris that would make the epoxy appear uneven.
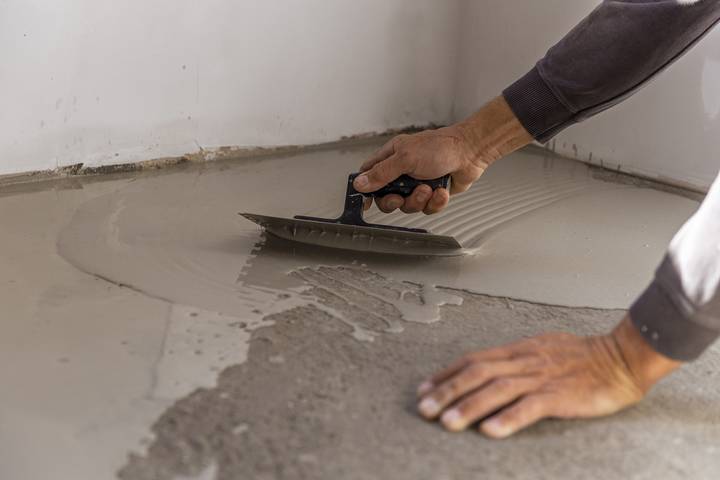
Tip #3: Fill the Lows
You can achieve levelled epoxy flooring on an uneven surface by filling the dips (low areas). This step aims to achieve a uniform surface by putting a self-leveling compound. The compound then creates a smooth and even surface with the constructor’s help.
You must purchase the best quality of this self-levelling material for more desirable outcomes. Furthermore, keenly follow the manufacturer’s application guidelines and watch how beautiful your epoxy becomes.
Tip #4: Heat Gun to the Rescue
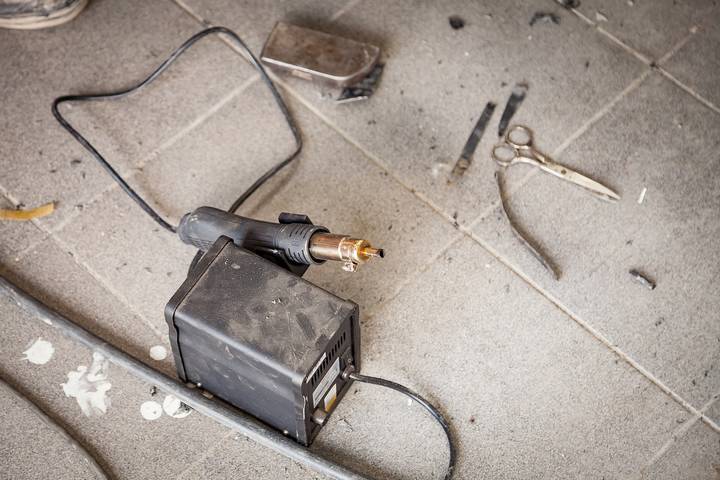
A heat gun is another excellent tip for solving unevenness when applying epoxy flooring. This tool works well when there is insignificant unevenness. After identifying the low areas, you can apply heat until the epoxy melts. A trowel or putty knife is then used to level the area. When it cools, you can sand it to achieve the desired smoothness.
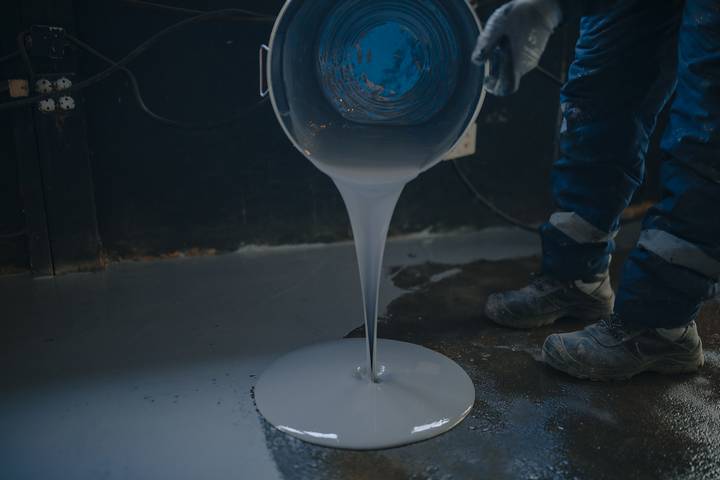
Tip #5: Apply Enough Epoxy
Having enough is the secret to working uneven surfaces when applying epoxy flooring. You shouldn’t use less than the required amount or think you’ll need the exact quantity of epoxy. Instead, have plenty of whatever material is needed for the procedure to fill the low spots satisfactorily. A thin epoxy floor is more prone to future bumps and other damages than its thick counterpart.
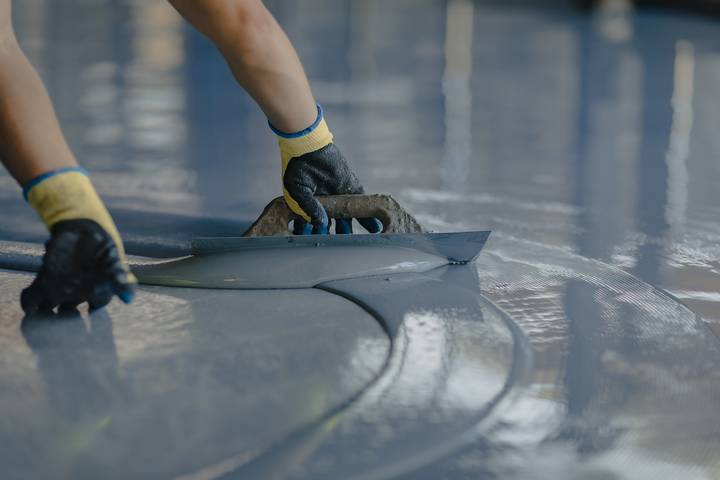
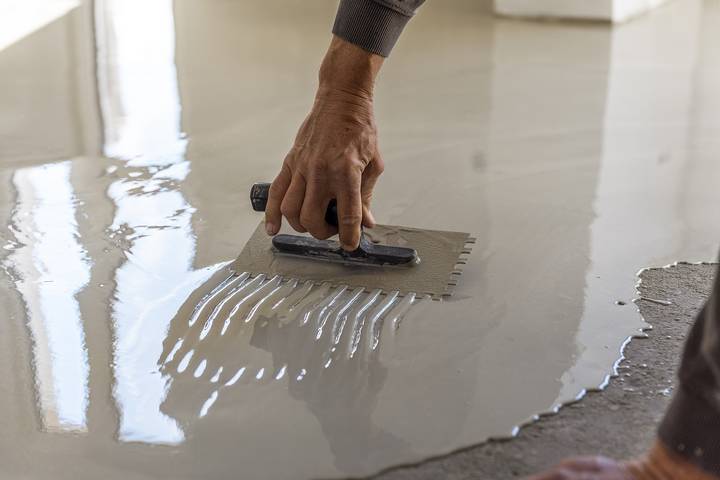
Tip #6: Use the Right Tools

Your choice of tools substantially influences how perfectly or quickly you can apply epoxy on uneven surfaces. It means you should have every tool required for the process with little or no improvisations.
Additionally, the quality of the supplies shouldn’t be compromised regardless of how small the area being worked on is. Experts say that the tool should also be well maintained and cleaned after use for exceptional functionality in the long run.
Tip #7: Mind the Weather
Weather also impacts how smoothly you can apply epoxy flooring on unleveled areas. For instance, cold weather is not so good for the job as it tends to make the epoxy and related products ‘dormant.’ The floor may not smoothen as it would during hot or mild weather. You should avoid working under 15 degrees Celsius and less.
Tip #8: Repair Cracks Before Epoxying
Suppose the uneven surface you wish to epoxy has a few cracks. It would be best to first repair them before applying the main coat to prevent future damage. Unfortunately, grinding is insufficient for these cracks, as they can still ruin your final project. Even after grinding, you should proceed to repair them well to deter them from sucking in epoxy and causing further unevenness.
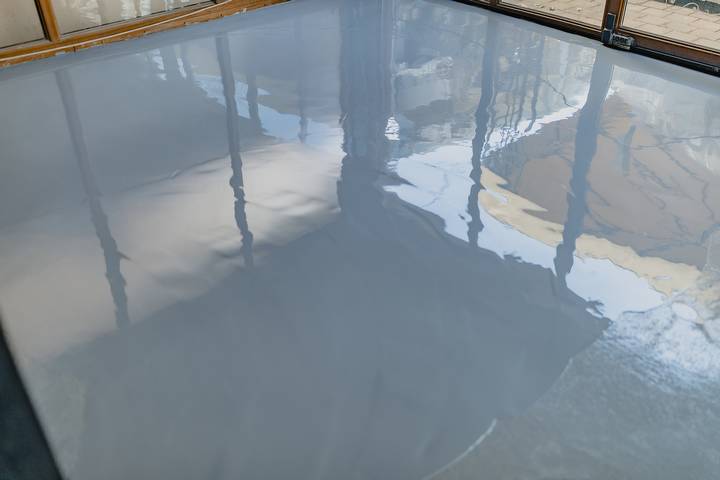
Tip #9: Double the Coating
A single coating may not be enough when epoxying unleveled areas. Therefore, you should be prepared to apply multiple layers for the best outcome possible. Ensure every coating adequately dries before adding the next one for a more extended lifespan.
Furthermore, this reduces the risk of trapped air and bubbles, which often cause unevenness as days progress. While putting several layers of epoxy may appear expensive at first (since you’ll purchase more than usual), it’s the most cost-effective technique as it saves on frequent repairs.
Tip #10: Test It
When applying epoxy on uneven areas, you can test a small surface with similar characteristics before moving to the rest. That way, you will understand what factors would lead to poor results and work on them in your final job.
You can also tag along a more experienced constructor as your supervisor. They can point out several things you should improve in your next step. Depending on your preferences, the test surface can be a part of your work area.